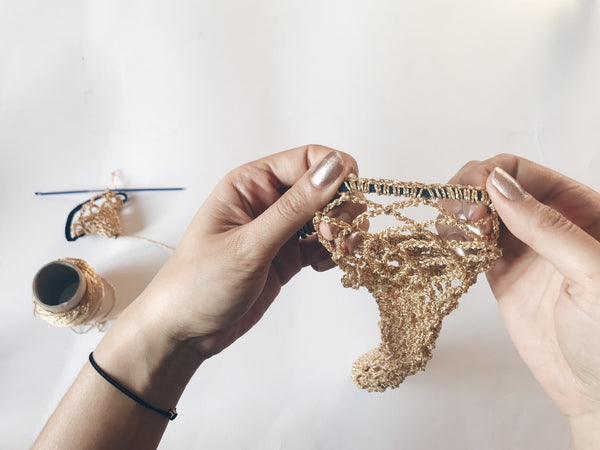
Last week, I posted the pattern to my knitted fishnet socks, and promised a crochet version for all the crocheters out there. The first half of this sock zoomed by, and I was super excited - it was looking fishnetty and was such bliss to crochet.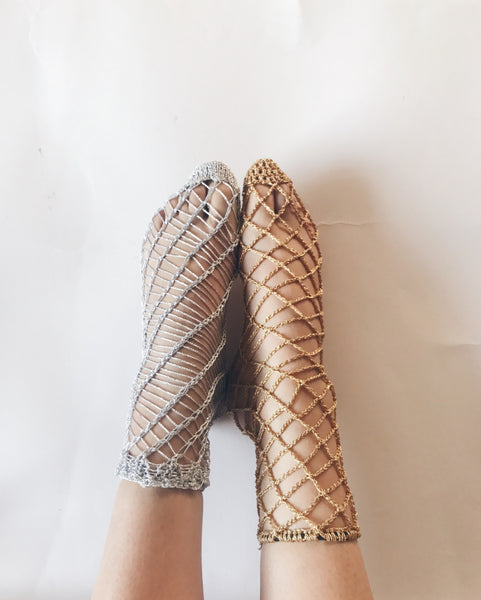

Then I got to the hem and got stuck for 4 days... the lurex just was not stretch enough to get over my instep and heel, or was too loose and floppy around my ankle. I tried working a front post/back post mock rib, but that was a failure too. I rummaged through my craft supplies and found some black lingerie elastic, and finally had a good solution! (Next time I'll splurge on some matching elastic, but nobody is looking at my ankles so hey... it's fine...)
I had another ball of lurex in my stash for these socks, (bought last year from LoveKnitting.com) and while it is a bit gritty and scratchy as a sock, it's fine for a few hours of wear and doesn't cut into your feet. If you have super delicate skin and can't bear scratchy things, please make these with a softer yarn!
Want to crochet your own pair? Keep reading for the instructions.

Materials:
- 2.5mm crochet hook
- 18-20 grams/80m of lurex
- 2x 16cm of 0.5mm lingerie elastic, sewn into a loop
Techniques:
- US single crochet (SC) = UK double crochet
- US double crochet (DC) = UK treble crochet
- 1x1 rib
- circular knitting
Tension:
30 stitches x 20 rows = 10cm/4" square for UK treble crochet on 2.5mm hook
Measurements:
Approximately fit women's UK size 6.5/EU 39, however due to the nature of the stitch there is a lot of stretch and give to fit various foot sizes. A key point is that the elastic must fit over the biggest part of your heel and instep when fully stretched.
Instructions:
Repeat the instructions twice to make a pair of socks.
- Magic ring 6 DC stitches (if you hate doing a magic ring, go ahead and chain 5, join into a loop and work 6 DC into the loop!)
- Work 2 DC into each stitch, use a slip stitch to join the round. (12 stitches)
- *Work 2 DC into the first stitch and then 1 DC into the next stitch*. Repeat the section between the stars a further 5 times, then use a slip stitch to join the round. (18 stitches)
- *Work 2 DC into the first stitch and then 1 DC into the next two stitches*. Repeat the section between the stars a further 5 times, then use a slip stitch to join the round. (24 stitches)
- You will now begin the fishnet area of the sock! *Chain 9, skip 2 stitches, and use a slip stitch in the next stitch to join*. Repeat the section between the stars a further 7 times, or until you have worked around the entire sock. Don't use a slip stitch to join!
- *Chain 9, use a slip stitch to join in the middle of the fishnet loop below*. Repeat the section between the stars until your sock is the length you want it to be (I worked approximately 25 rounds.) *NOTE* You are not joining your chain to the centre stitch of the fishnet loop, but directly through the fishnet loop. If you join it to the centre stitch, there will only be one tiny strand to secure your new fishnet to, which will not be as strong as working around the entire chain.

- You will now join the elastic to the sock. Chain 1, take one of the elastic loops, and place it at the top of the sock and infront of the chain stitch you have just made. SC around the elastic, working 9 SC into each fishnet loop. When you have worked around the entire sock, use a slip stitch to join.
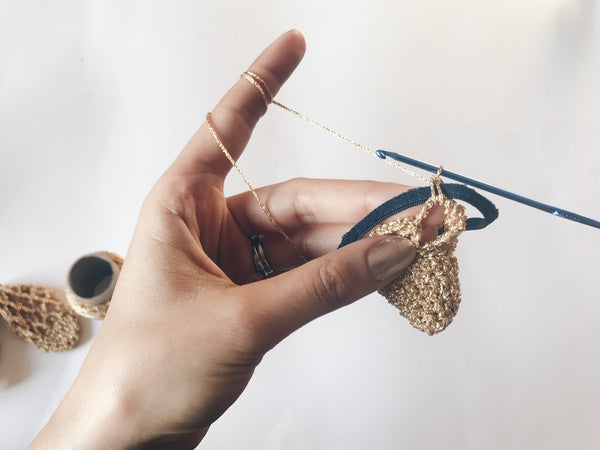
- Cut the yarn, leaving a 15cm tail, and weave in the ends securely. Yes, you can see the black elastic, so next time I'll buy some in a matching colour!